
Combolands Beginner Guide: Read Your First Run
A source-backed first-run route for Combolands: understand the citybuilder loop, guild choices, procedural islands, and the evidence limits around early decisions.
Patch note (v1.0.5–v1.0.6): the Compendium (in-run reference for buildings, heirlooms, councillors and dismissed buildings) arrived in v1.0.5 — use it instead of guessing what a building does. v1.0.6 also made your first Council Request refresh free and now counts heirloom sell values into the final gold score.
The short answer
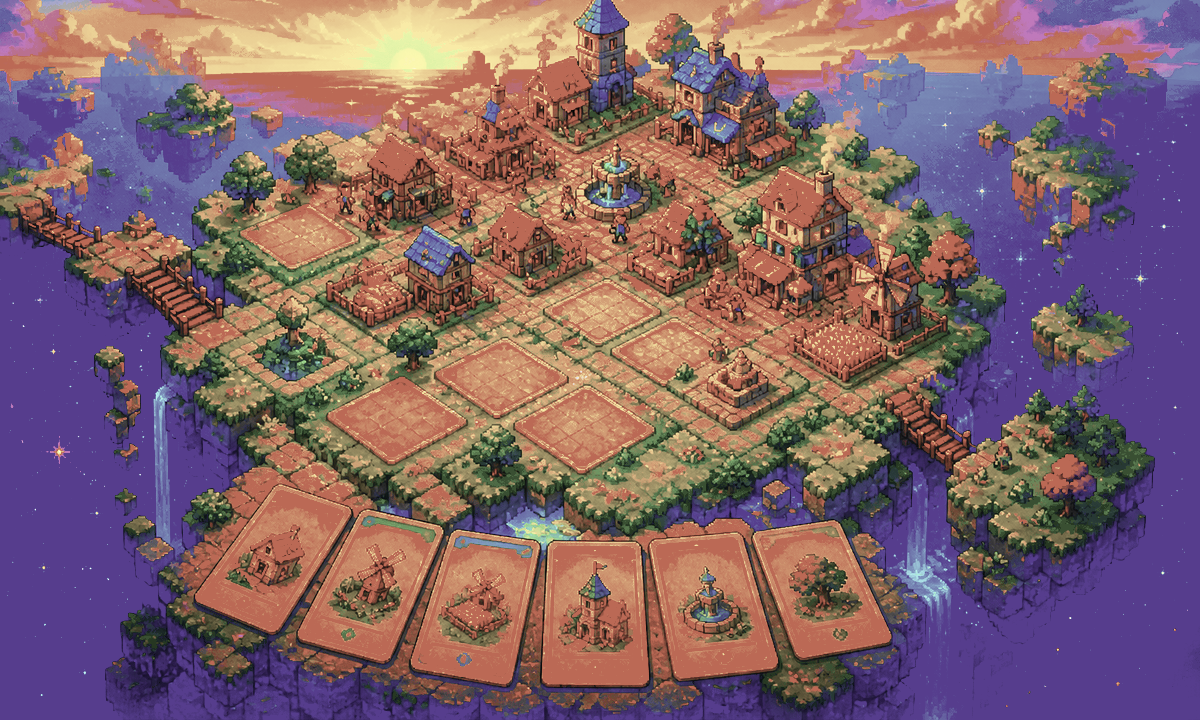
Start by learning how to read a run, not by copying a “perfect” opener. The official store describes Combolands as a small roguelike citybuilder: you place buildings, choose two guilds for a run, build a procedural island, and chase combinations that create cascading results. It also lists passive heirlooms, potions, upgrades, councillors, and ten increasingly difficult ranks. Those are the stable pillars of a first session; the exact opening sequence is not documented in the sources collected here.
What to understand before your first placement
There are four layers to keep separate:
- The board: the island is procedurally generated, so a familiar plan may not fit the next map. Think in terms of available space and visible opportunities rather than memorising coordinates.
- The guild pair: the store lists seven guilds and says every run uses two. The public achievement list cross-checks the labels, but neither source proves a universal best pairing.
- The building offer: place a building only after reading its visible text and considering what it could connect to. If the game does not show a condition, do not silently invent one.
- The run state: scores, choices, items, unlocks, and the final result belong to the current run. Steam Cloud is a separate platform feature; it should not be treated as proof that every mid-run decision is resumable.
A low-regret first-run route
1. Read the choice screen
Before confirming a guild, building, potion, or upgrade, note the words that describe its role. You are building a vocabulary for later decisions: which text describes a placement, which describes a trigger, and which describes a lasting improvement. A screenshot is useful if the wording is easy to forget.
2. Pick a direction, not a tier list
Choose the two guilds you want to learn and keep a simple reason for the choice: “I want to understand this guild’s building language,” or “I want to compare the same early decision across two runs.” The official count of 21 pairings describes the size of the choice space, not the strength of any pairing.
3. Protect future space
Leave a little room around a promising cluster until you know whether the next offer benefits from proximity, a particular tile, or another visible condition. This is a practical heuristic, not a published adjacency rule. When the rule is not visible, treat the space as an experiment rather than a guarantee.
4. Observe the result in order
After each meaningful placement, pause your note-taking long enough to separate the immediate score from the later cascade. Record what changed first, what changed next, and which part was only your interpretation. This prevents a satisfying animation from turning into an unsupported formula.
5. Review the run
At the end, save the screenshot or short clip with the game version, guild pair, and the question it answers. Then compare it with the building combos and trigger mechanics pages. A repeatable observation is more valuable than a confident guess made from one lucky island.
A useful first-three-runs checklist
| Run | Learning goal | What to record |
|---|---|---|
| First | Learn the interface vocabulary | Guild pair, visible building text, major placement choices |
| Second | Test one suspected relationship | Same question, board context, immediate result, follow-up result |
| Third | Compare rather than optimise | What changed on the new procedural island and what stayed consistent |
Do not change several variables at once if you are testing a trigger. A different guild pair, a different item, and a different board shape make the result difficult to interpret.
Common beginner mistakes
- Treating the first successful run as proof of a universal opener.
- Calling a guild “best” when the source only establishes that the guild exists.
- Treating a procedural map as if every building will appear in a fixed position.
- Reading Steam Cloud as an in-run checkpoint guarantee.
- Carrying demo or old-version advice into the current build without a version label.
What this guide does not claim
There is no confirmed universal first pick, exact building formula, guaranteed early route, or complete unlock table in the current evidence pack. Those details belong in the trigger mechanics note, progression guide, or a future building entry only after a current source or reproducible test supports them.
This page records what the linked sources support as of 2026-08-30. If a detail is not named, it stays open instead of becoming a guess.